Try this cheap bookcase makeover with no paint!
Check out how to change a bookcase or built-ins without paint with this budget-friendly DIY plus other creative ideas.
Do you often find pieces of furniture or decor that don’t quite fit your style as you update your home? Maybe they have sentimental value or your budget doesn’t allow for replacements.
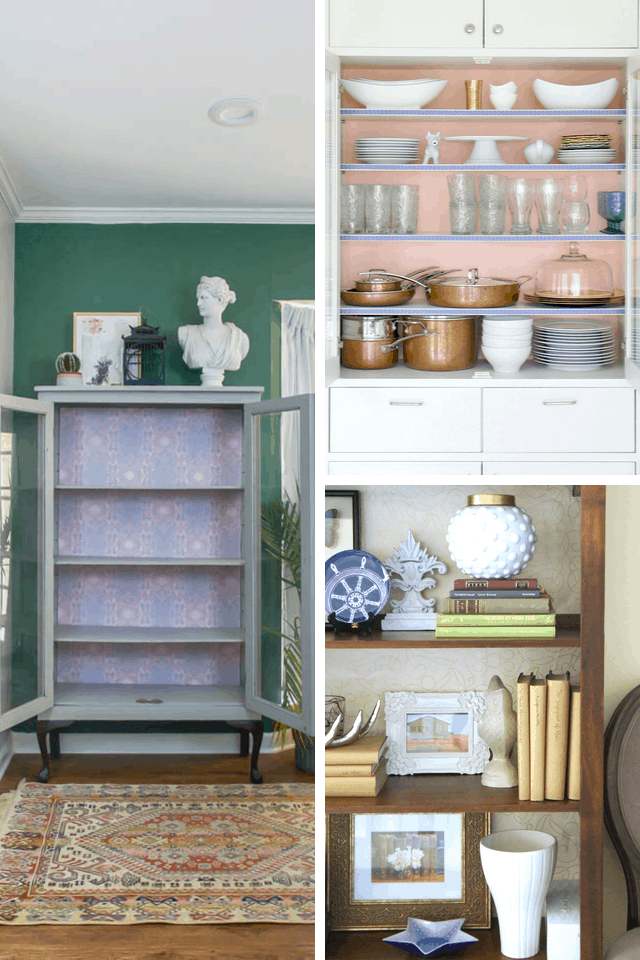
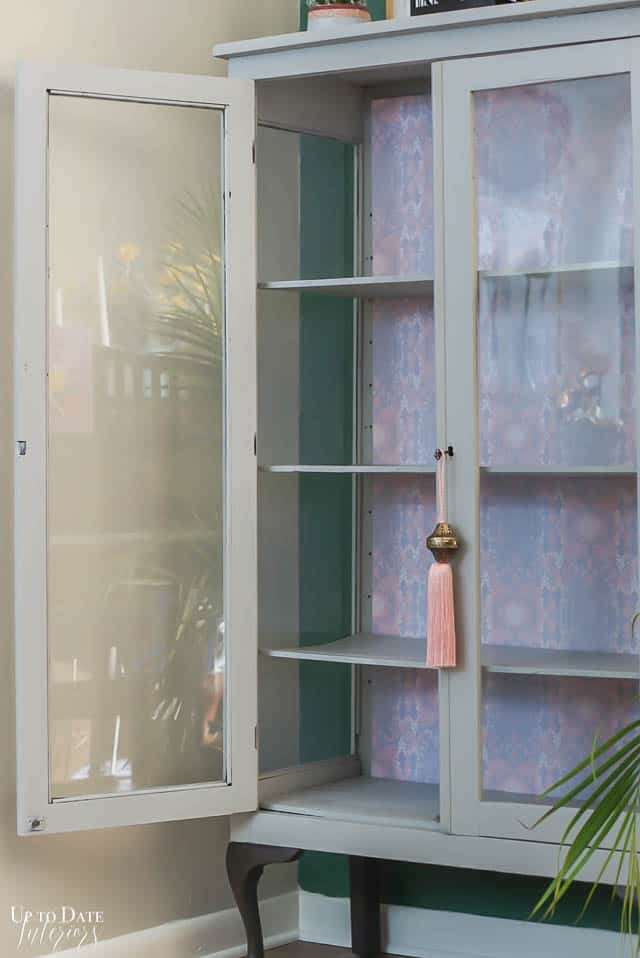
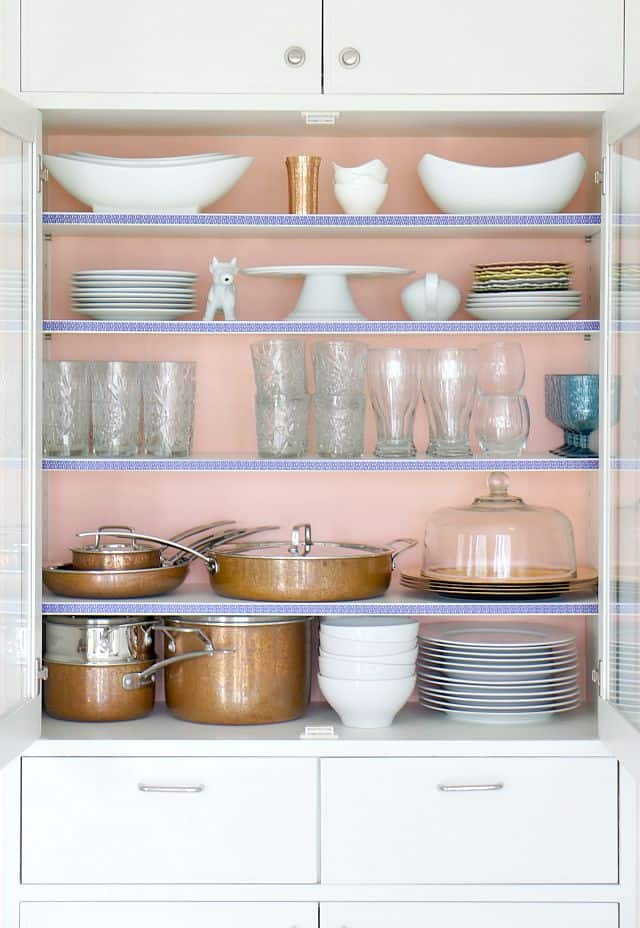
Adding pretty paper or fabric to the back of a bookcase, cabinet, or bookshelves is one of my favorite ways to change it without paint. Plus it’s super easy and inexpensive especially if you are using wrapping paper, fabric, or craft paper you already have on hand.
How to Makeover a Bookcase or Built-ins for Cheap
If you are new here, howdy! I’m a retired military spouse who moved back to Texas after being gone for 19 years.
I perfected the art of rental decorating and overcoming challenges in small spaces for over fifteen years but now am tackling homeownership with a new set of challenges!
Our family of four lived in some of the most beautiful coastal towns in the US and Japan which have influenced my colorful and global style with DIYs and furnishings in our one-story 60’s ranch-style home in Fort Worth.
Materials for Bookcase Makeover:
- Paper: Shop your house or head to your nearest craft store for a pretty wrapping paper, fabric, contact paper, or peel and stick wallpaper.
I’m sharing how easy it is to use wrapping paper since it’s the easiest to find! I had leftover wrapping paper from my dresser makeover that features a white and gold subtle print that will lighten up my dark bookcase. It’ has a 1-inch grid on the back for easy measuring and cutting but I will also give you tips on other materials I’ve used.
- A Backer for Your Shelves like foamboard, cardboard, or inexpensive thin press-wood.
Shop at your local dollar store to keep the cost low or have a hardware store cut a piece of cheap pressboard to fit in the back of your bookcase. The backer allows for easier installation that’s removable. I did this because I wanted the option to change it in the future. You can also install the paper directly to your bookcase or cabinet back.
- Double-Sided Tape
- Measuring tape or ruler
- Scissors
- Box cutter (razor blade for the foam board)
How to Makeover Your Bookcase without Paint
Step one: Measure the height and width between the first shelf and the second. Mark the measurements on your foam board. I used a second foam board to mark my lines with a pencil but a yard stick would work.
Step two: Make your cuts. Again, you can use a second piece of foam board or yard stick to guide your box cutter. My bookshelf is wider than the foam board so I had to cut off an additional piece for each shelf. I taped them together with packaging tape.

Step 3: Mark the same measurements on your paper, then cut out.
Step 4: Attach the paper to the foam board with double-sided sticky tape. I placed three pieces vertically, one on the left, the center, and the right. Start with one side of the paper and smooth out and center as you place it on the foam board to prevent bubbles or wrinkles.
Side note: I had to cut the pieces to fit around the upper corners of my two permanent shelves on a couple of my bookcase shelves. Make any extra cuts so that your piece fits snugly.
Other bookcase makeover ideas:
Find out how to add a peel and stick wallpaper on a piece of cheap press wood in this article. This is a great use for leftover wallpaper or an inexpensive buy since it’s such a small amount. Use a contrasting paint color on the rest of the cabinet for eclectic style!
How to Update Cabinets or Bookshelves in a Rental
Check out a renter-friendly update with dollar store paper and washi tape in this article. You can really customize your colors to highlight what’s on your shelves and brighten up dark cabinets.
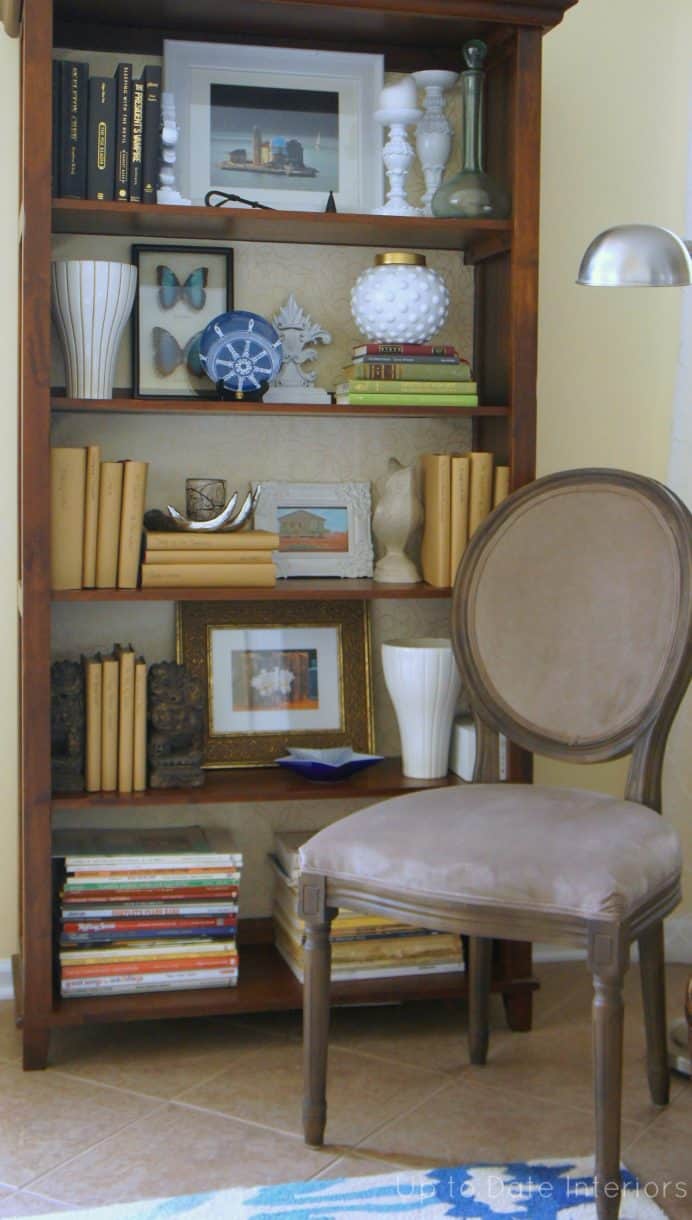
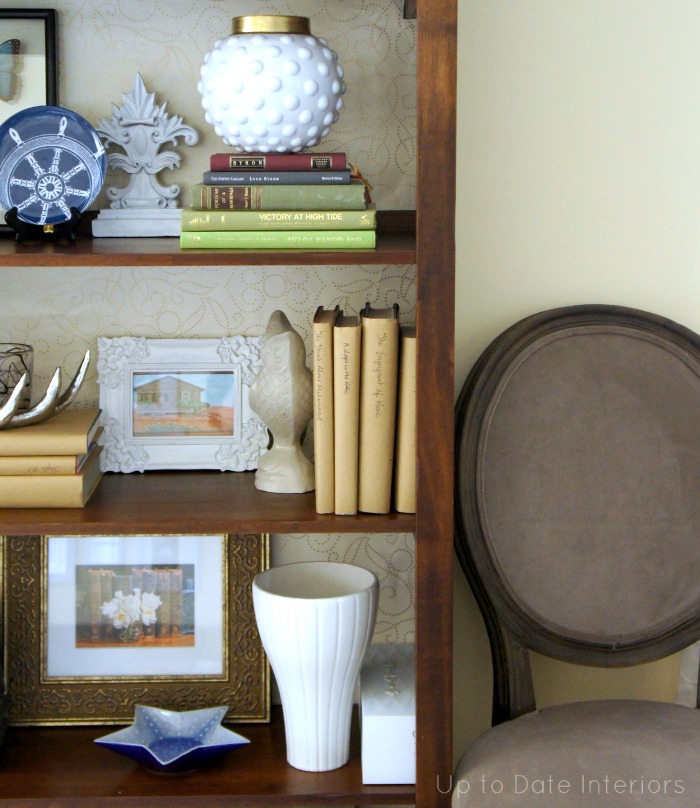
I absolutely adore the paper in the back of this bookcase and this vintage bookcase makeover with fabric. After you have updated your old bookcase the next step is beautiful decorating! Check out how to style your shelves in this article and decorating shelves and surfaces here. Let me know how it goes! You can leave a comment or email me directly at kathy@uptodateinteriors.com so we can chat.
Join me on Instagram for behind-the-scenes, DIYs, decorating tips, room tours, and home inspiration. I’ll see you over there!

- Sunshine on a Wall: Crafting a DIY Sunburst Mirror with Skewers

 Craft your own gold DIY sunburst mirror with our easy tutorial. A budget-friendly, step-by-step guide using items you probably already have. Are you searching for a budget-friendly way to elevate your home decor? Look no further! Discover how to create a stunning DIY sunburst mirror that adds style and flair to any room without breaking…
 - How to Make an Apartment Feel Like Home: 10 Temporary Decorating Ideas
 Discover “how to make your apartment feel like home” with our expert tips! Transform your space into a cozy sanctuary effortlessly. Hey apartment dweller! Ready to banish that “temporary” vibe? As a seasoned renter and designer, I’ve helped many renters turn their temporary space into a cozy haven with easy-to-follow decorating and design tips. Let’s…
 - Try This Easy DIY Vase Decorating with Faux Succulents
 Discover how to craft a beautiful DIY vase adorned with faux succulents. Enhance your home decor affordably with this project, bringing a modern touch to any room. Looking to add a touch of modern elegance to your home decor without breaking the bank? This budget-friendly DIY succulent vase project is just what you need! Let’s…
 - DIY Clipboard Art Display with Creative and Easy Decorating Ideas
 Transform your space with a stylish clipboard art display! Learn how to elevate ordinary clipboards into chic decor pieces with a DIY guide. Are you tired of the constant struggle to keep your child’s artwork organized and proudly displayed without cluttering up your walls? Or perhaps you’re looking for a chic and budget-friendly way to…
 - How to Create Family-Friendly Interior Design: 10 Practical Tips
 Discover practical tips and creative ideas for family-friendly interior design that combines safety with style. Are you a parent who has wondered how to have your “dream home” and not have nightmares about destruction or injuries? Fear not! Ever since our kids were babies, I have always been passionate about decorating our home. Through trial…
What a grea idea. I really like the way the paper gives the book shelf more charater and a unique factor.
Thanks Amanda! Can’t wait to decorate it for Christmas now. =)
This is beautiful! I absolutely love it. I have a bookshelf in my foyer that I wanted to add a little pizzazz to, and this is the perfect idea! It’s really a complete transformation 🙂
Thanks for the sweet comment Rachel! It’s really easy to do too.
What a great update! It’s a really beautiful change- and something I think that I even I could do…which I love! Great job!! I really do think that it makes your pretty items POP more! Great way to show off the things you love 🙂
Thanks Jenn! I am really happy with the outcome. Now comes the Christmas decor on it!
Super neat!! Love love this! Thank you for sharing 🙂
Thanks Nancy! Glad you enjoyed it. It was fun and easy to do. =)
That dollar tree is the truth and I sleep on it so often. Love the design I have not a one designer bone in my body but love looking at the ones you have on here.
Thanks so much Kita! I wish our dollar tree wasn’t 30 minutes away or I would be there every day…
Very creative. I really love this. Such the [perfect accent. Man I need to get on your level
Thanks for the comment Aleshea (it made me giggle)! =)
This way is so much easier and less messy than using paint. Great post!
Thanks Tara! It is easier. Glad you liked it. =)
Thank you for idea! I purchased black and ivory striped wrapping paper at Magnolia and plan on backing my kitchen cabinets that have glass!
Great ideas! How do I make the foam Board to pressboard hug the back wall of the bookshelf? Thanks!
Thanks, Diane! If you make individual pieces to fit between the shelves you can reinforce with command strips or sometimes I’ll roll a piece of painter’s tape or masking tape and it holds well. You can also use hot glue if you want a more permanent solution. When I use one big piece in the back, the shelves hold it in place. Hope that helps!