DIY Color Block Ornaments
Hi there friends! Welcome to day 4 of Up to Date Interiors’ Christmas Series {part deux}. Here’s what happened the first 3 days.
Day one: A little Christmas tree vignette!
Day two: DIY Scalloped Christmas Trees
Day three: A Natural and Thrifty Christmas Table Setting

Day 4: DIY Color Block Ornaments

As you may know, I’ve been trying to use the rest of my paint stash before we move. So when I saw Kate Spade’s Color Block ornaments, I knew what my last project (in the great state of NC) would be. 😉

The best type of ornaments to use for this are plastic ones. I tried painting some glass-painted ornaments and the painter’s tape took the color right off. 🙁

Here’s what you need:
Painters’ tape
Paint (spray paint is the easiest)
Ornaments to be repurposed
Ribbon
Gold washi or craft tape
How to do it:
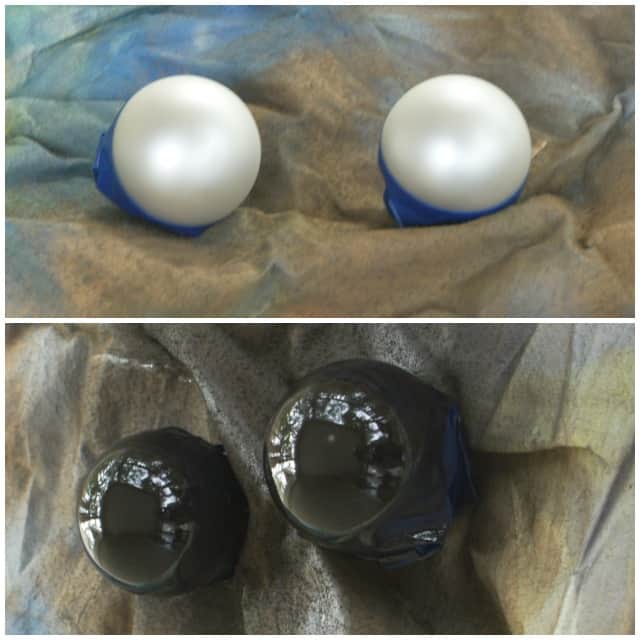
Tape off the top half of the ornament.
Spray paint a couple of light coats or use a sponge brush with craft paint. Using a brush will take about 4 coats to completely cover the ornament.
Ornaments painted with a brush


Ornaments Spray Painted
When deciding color pairings, refer to the color wheel and use complementary colors (opposite ends), two colors in the same family, or black and white. I made two of each color pairing.

After the paint has dried for a couple of hours, carefully peel off the painter’s tape. You can then wrap a strip of gold tape around the middle. It hides any imperfections well. 😉 Tie a piece of ribbon through the top and you’re done!
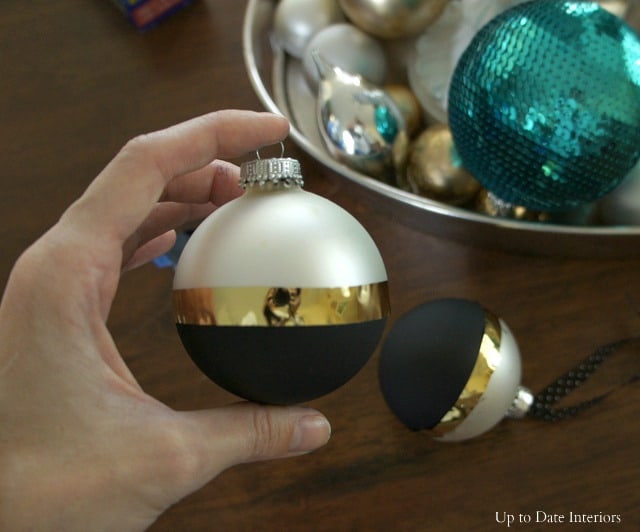

Aren’t they fun? I think the black and white with the gold tape are my favorites.
Head over to the winter holidays, DIYs, and decor page for more articles and resources!
Come by for a visit tomorrow as I share our Christmas home tour!

Nice technique! I’d really love to come steal those black, pearl, and gold ones…I have the perfect room for them over here. 😀 It’s beautiful Kathy!
Ha!! I wish I could give them to you. Movers are coming today… 🙁
LOVE this!
Thanks sweetie! I might have to do something similar this next Christmas.